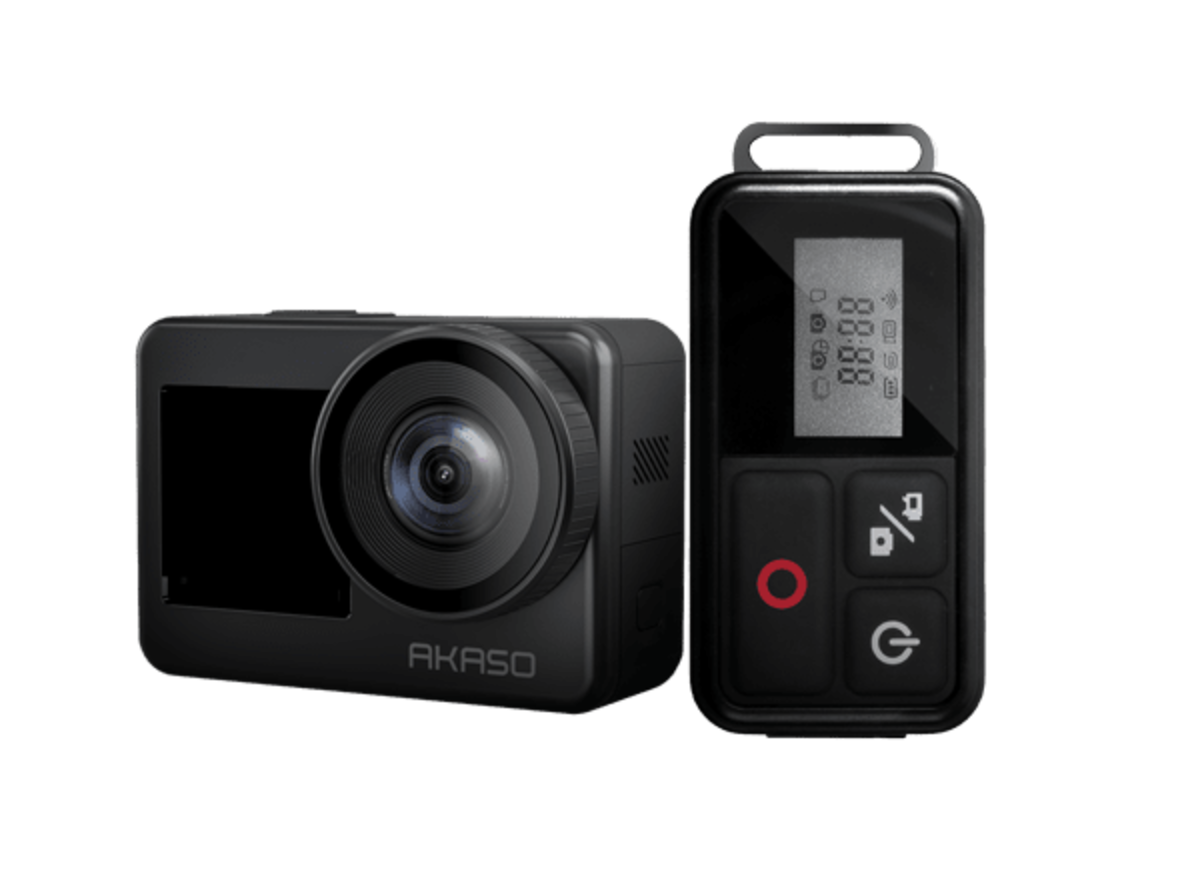
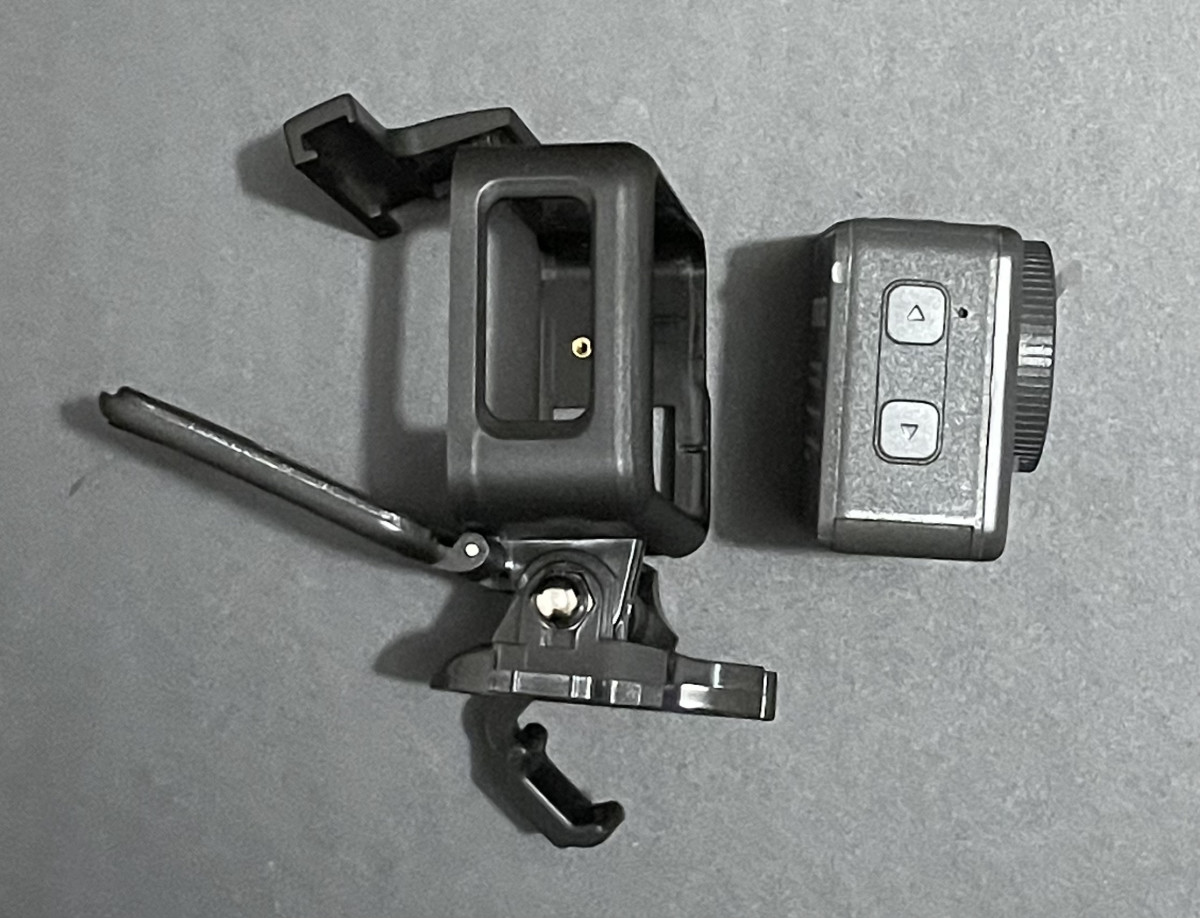
AKASO Looking back at the V50 Pro or even Brave 7 LE, we’ve gone from a clunkier wrist-based remote to a rectangular unit that can be securely attached to any backpack or belt strap. I dare say this wasn’t the only thing that was fine tuned. As we unbox the Brave 7 action cam, I’m aiming to show off as many new design changes as possible. However, my frustrations with this unit still exist.
Technical Specifications
There are a couple of interesting things to note with these technical specifications I chose to highlight. The first is the IPX8 waterproofing rating. No, the interesting part isn’t when AKASO bumped it up from the IPX7 rating found on their previous models. The difference between the two is that the IPX7 rating is the result of immersing the unit in up to one meter of water. Meanwhile, the IPX8 rating is from immersing the unit in over one meter of water. The interesting part is that AKASO achieved the latter rating without the use of the typical clear enclosure that provides a full seal around the action camera. I will be touching upon this further when we take a closer look at my unboxing. The second area of interest, also my frustration, is the use of both the USB Type-C and micro-USB ports. Specifically, the Brave 7 action camera itself, along with the battery dock charger, both utilize the USB Type-C port. On the other hand, the remote features a micro-USB port. If you’re thinking, what the hell? I’m thinking the same thing. Luckily I do have a micro-USB port. If you don’t, you’ll need to acquire one separately if you plan to use the remote. Aside from these two details, the other media specifications are quite standard. Video recording goes up to 4K at 30 frames per second of 1080p at 120 frames per second. On the other hand, the photo capture is standard, only going up to 20 MP.
The Packaging
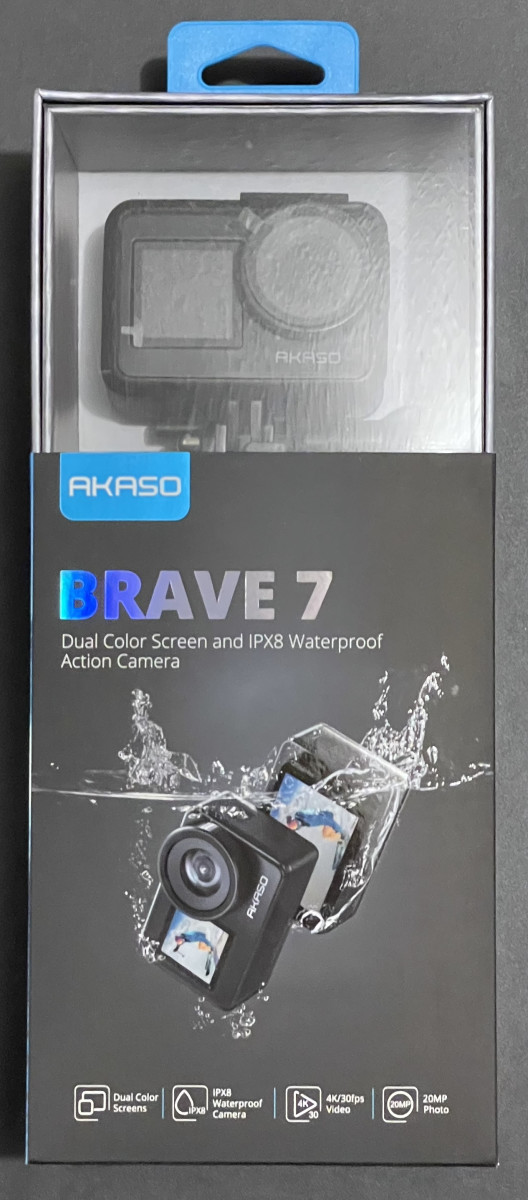
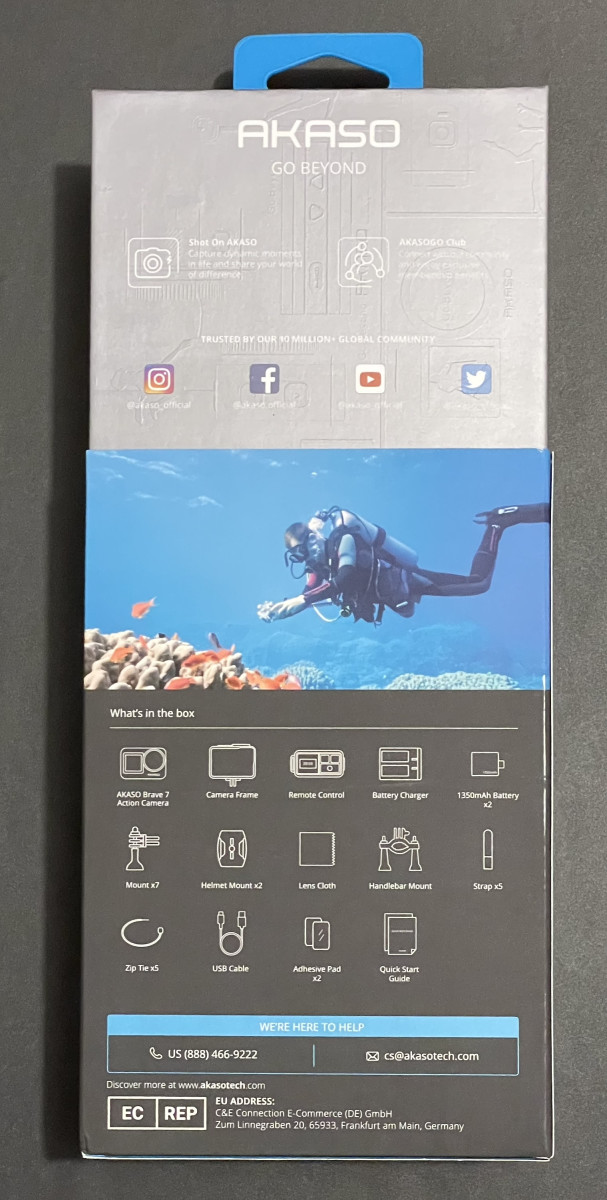
For the most part, this hasn’t changed. AKASO has kept its design consistent with this rectangular box that exposes the action cam unit itself. The key features are listed over on the front of the box. On the back, you can conveniently find a summary of the accessories that are included. What I do like is how transparent this company is with its support system. Their contact phone number and email address are listed right on the packaging for your convenience. No contact information buried in some obscured place on their website.
Contents
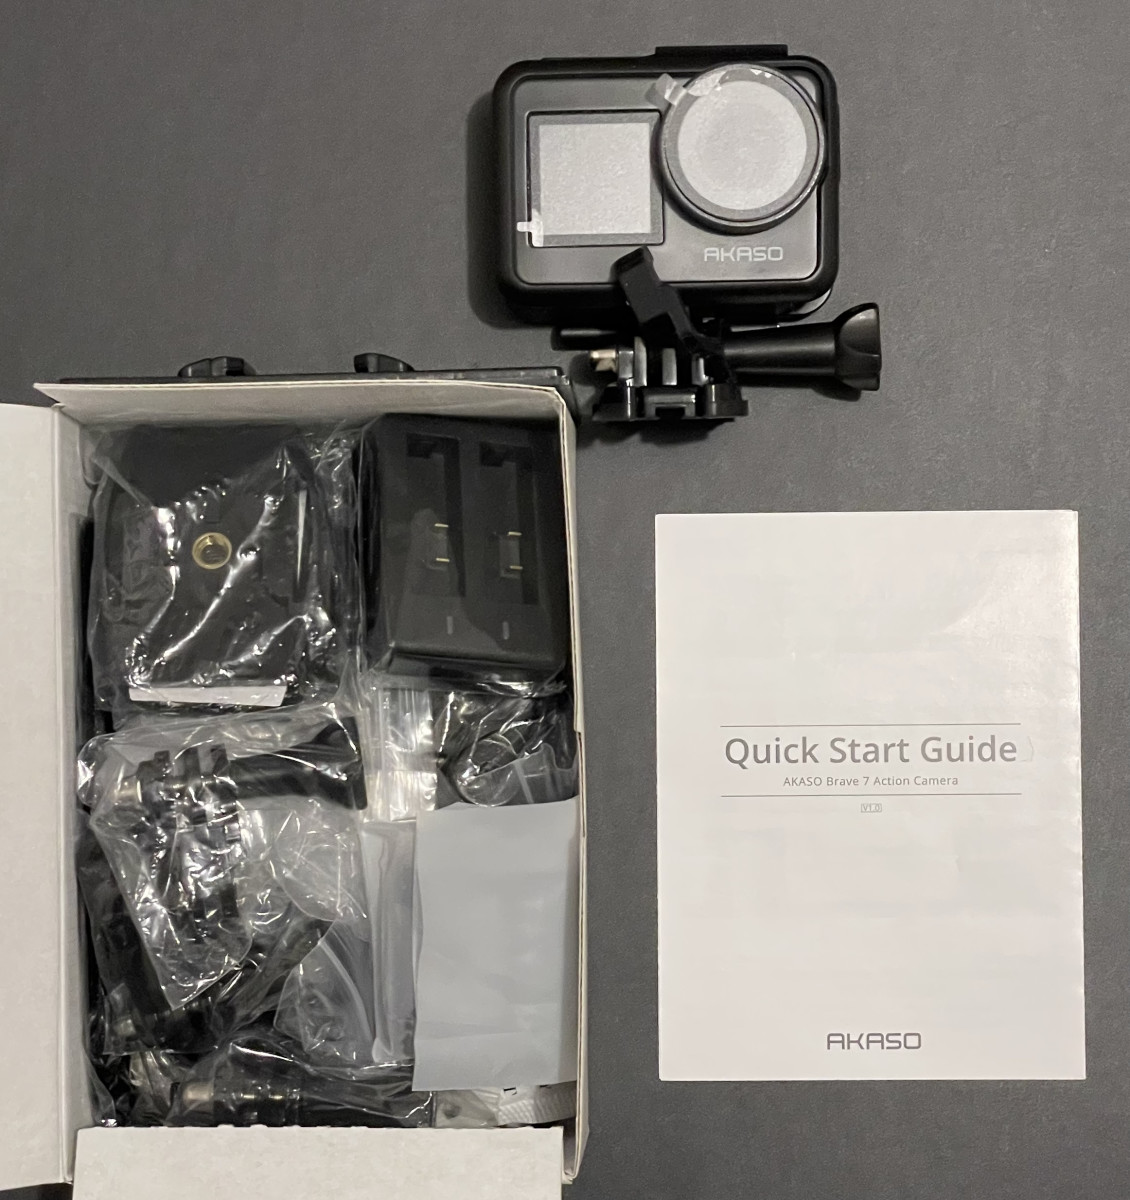
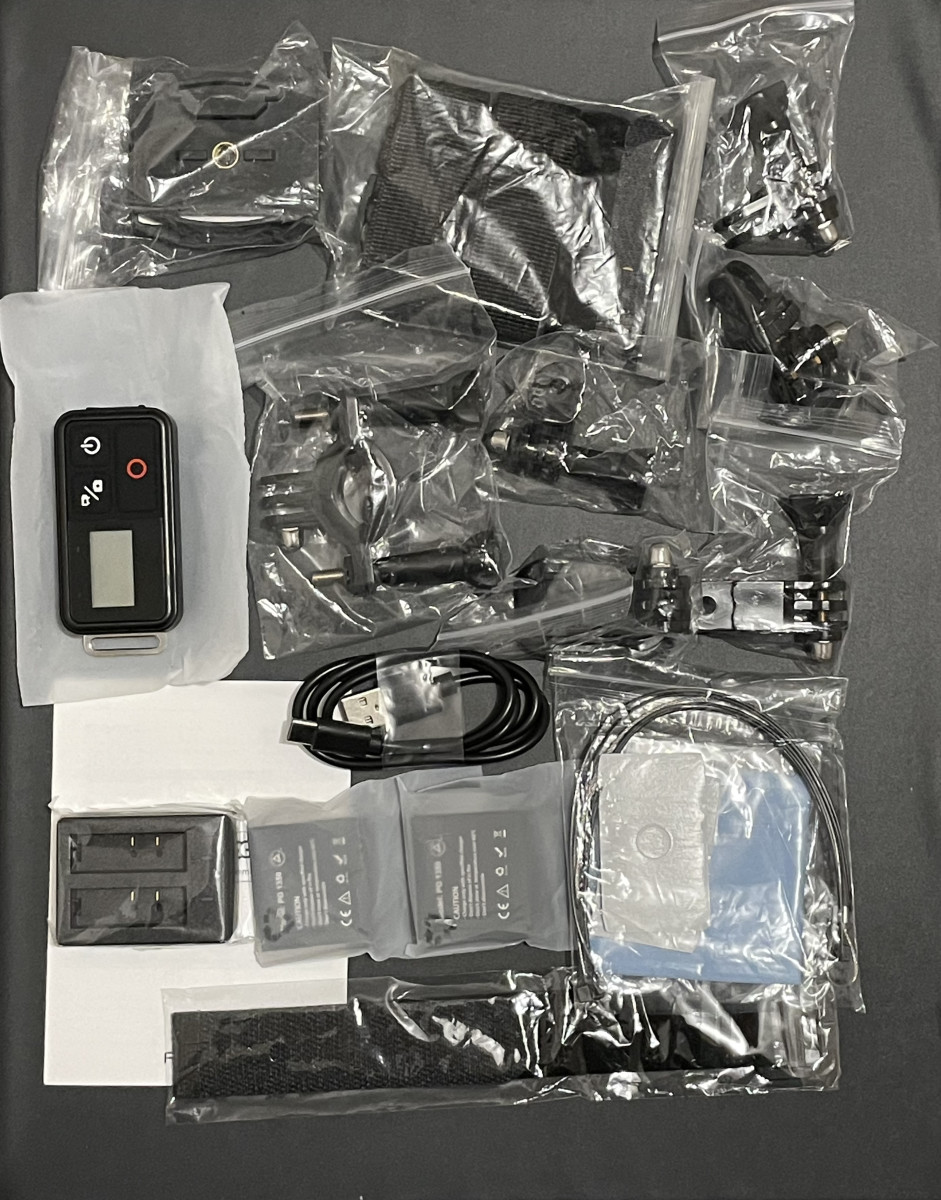
Opening up the packaging, you’ll find the action cam unit attached to the top of the box. Inside the box, you’re greeted with the Quick Start Guide, which will take you through the setup process. The functionality of the buttons is quite straightforward, but the Quick Start Guide will go over them if you do need to learn what each does. The accessories are all neatly packed in their own ziplock bags, which I find to be a little excessive. I would’ve preferred having three cloth drawstring bags that grouped the accessories together found in their previous Brave 7 LE model.
Accessories
As I’ve mentioned, I do think the use of ziplock bags here is a bit excessive. Luckily, these are resealable so you don’t have to throw them in the trash once you’ve taken the accessories out. I do hope AKASO groups these accessories in a larger singular bag. However, it’d make perfect sense to house the microfiber cleaning cloth in its separate ziplock bag to avoid contamination. In any case, I do want to highlight that you are getting your money’s worth since all the accessories are included. AKASO, like always, includes two batteries so it’s unlikely that you’ll need to purchase additional batteries. I should also note that the battery capacity has been upgraded. Back when the V50 Pro first came out, it was only capable of housing a 1,150 mAh battery. This Brave 7 houses a 1,350 mAh battery, which theoretically should increase the recording time provided that all other settings are the same.
My Gripe With This Action Camera
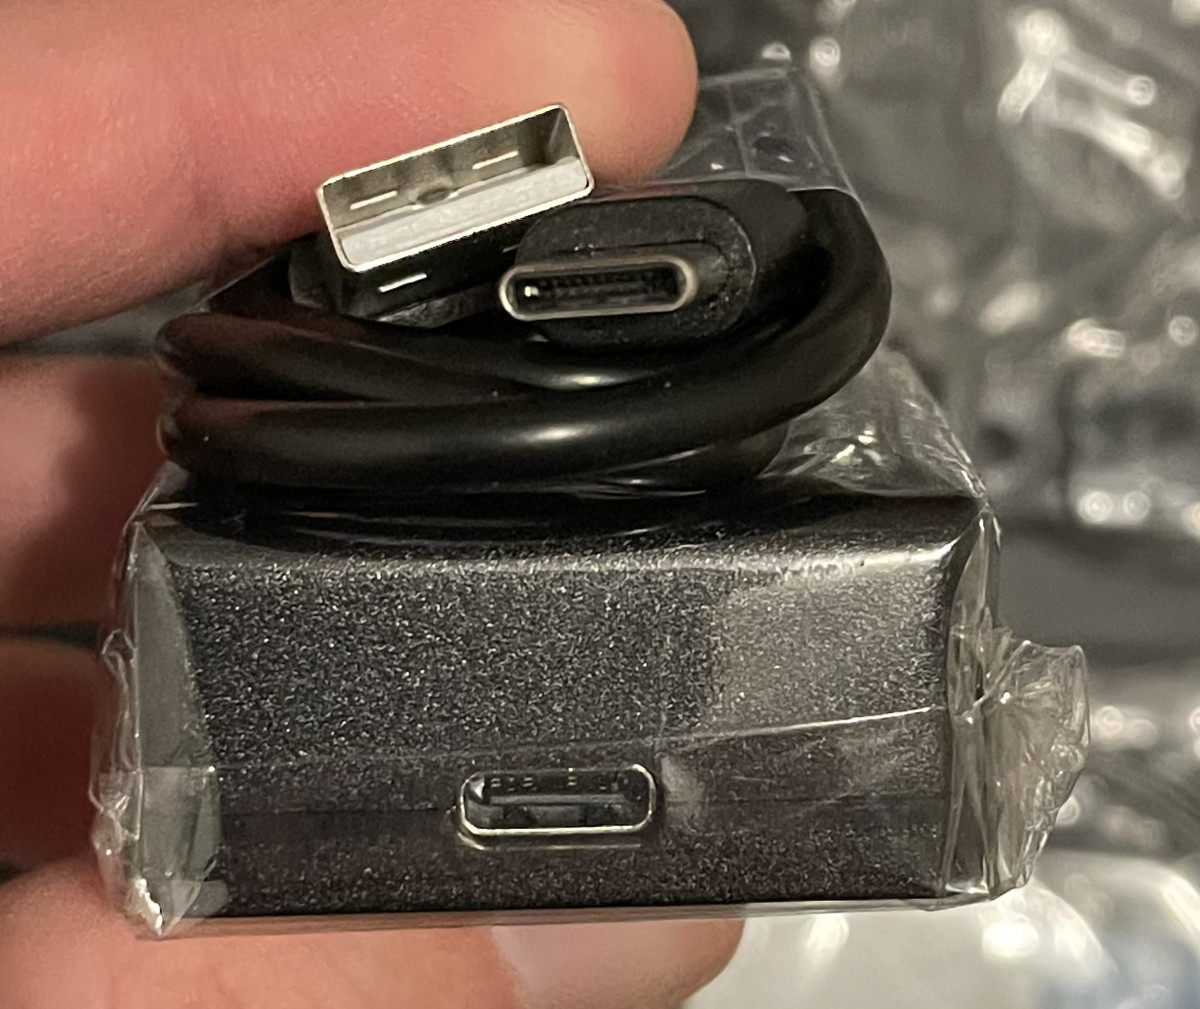
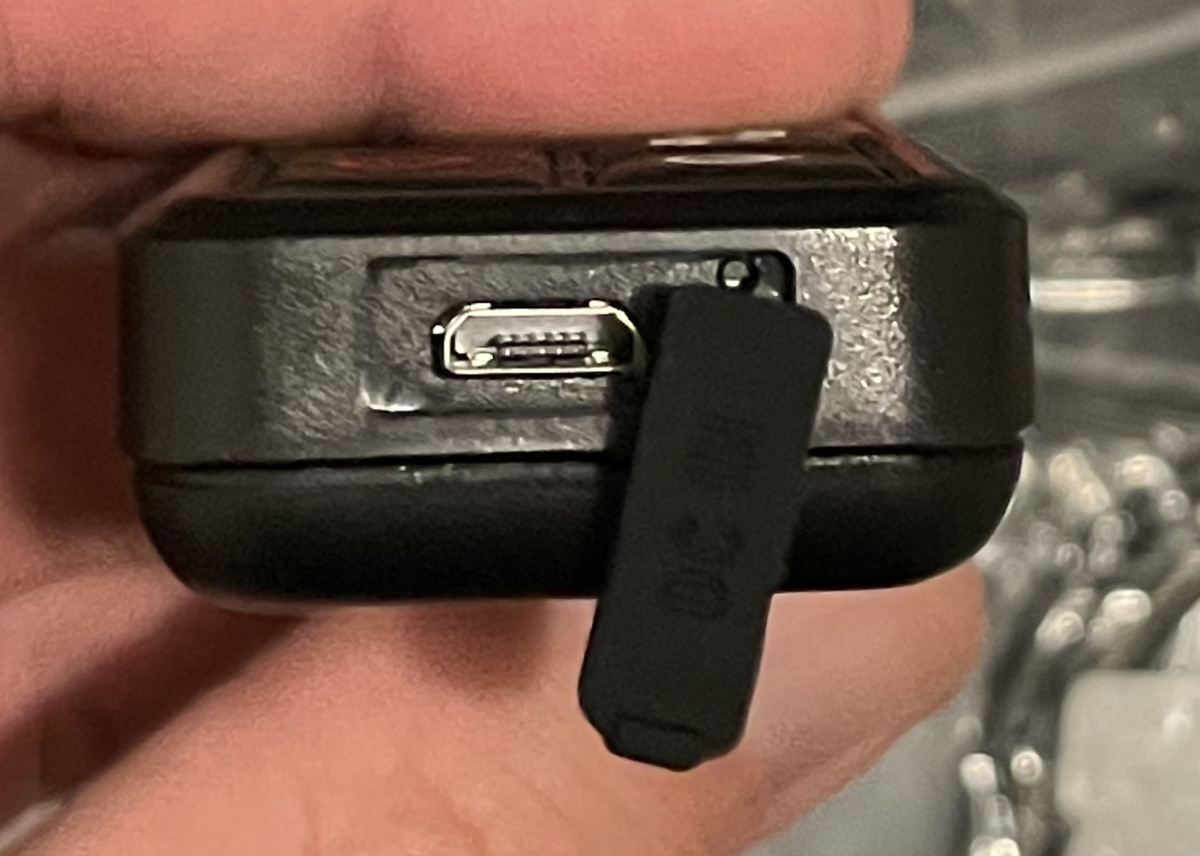
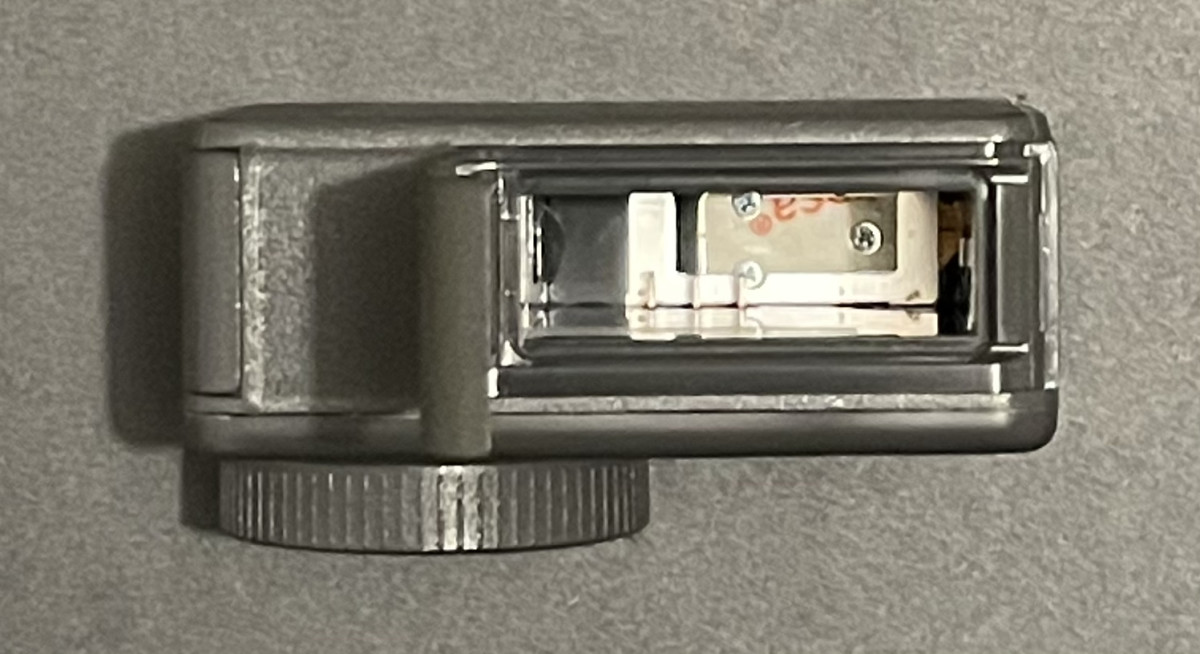
Here is a close-up shot of the battery dock and accompanying cable. The first thing I noticed was that this is a USB Type-C port. Great, right? I definitely thought so. Here’s where it becomes problematic. Here’s a close-up shot showing the charging port of the action camera’s remote. It’s a micro-USB port. However, AKASO didn’t include a micro-USB cord. Admittedly, this cord is still quite common despite most manufacturers making the transition to USB Type-C. If you do not already have one, you’ll need to purchase it separately if you wish to use the remote. Luckily, these cords are cheap. I would’ve liked to see some consistency here. Hopefully, all accessories in the future will feature a USB Type-C port.
First Look at the Brave 7
At first glance, it would be as if the Brave 7 isn’t as polished as something like the AKASO’s V50 Pro. For one, the witness lines are a lot more noticeable on the Brave 7. Upon a more careful look, especially with the accompanying hard case, it’s quite crazy what AKASO achieved. If you recall, I provided a brief explanation regarding the IPX8 rating earlier in this review. AKASO managed to bump this up from the IPX7 rating found in the previous Brave 7 LE without adding any additional bulk to the action camera unit itself. Although the witness lines are present, the action camera is sealed. What’s even more impressive is the accompanying case. Notice how it’s hollow. It’s not a giant clear case with a rubber gasket and separate cover that seals the action camera inside. The total bulk is actually reduced because you don’t have to use a clunky transparent case. Overall, kudos to AKASO for being able to achieve the IPX8 rating without making the whole unit bulkier. Let’s take a closer look at the action camera itself.
Closer Look at the Brave 7
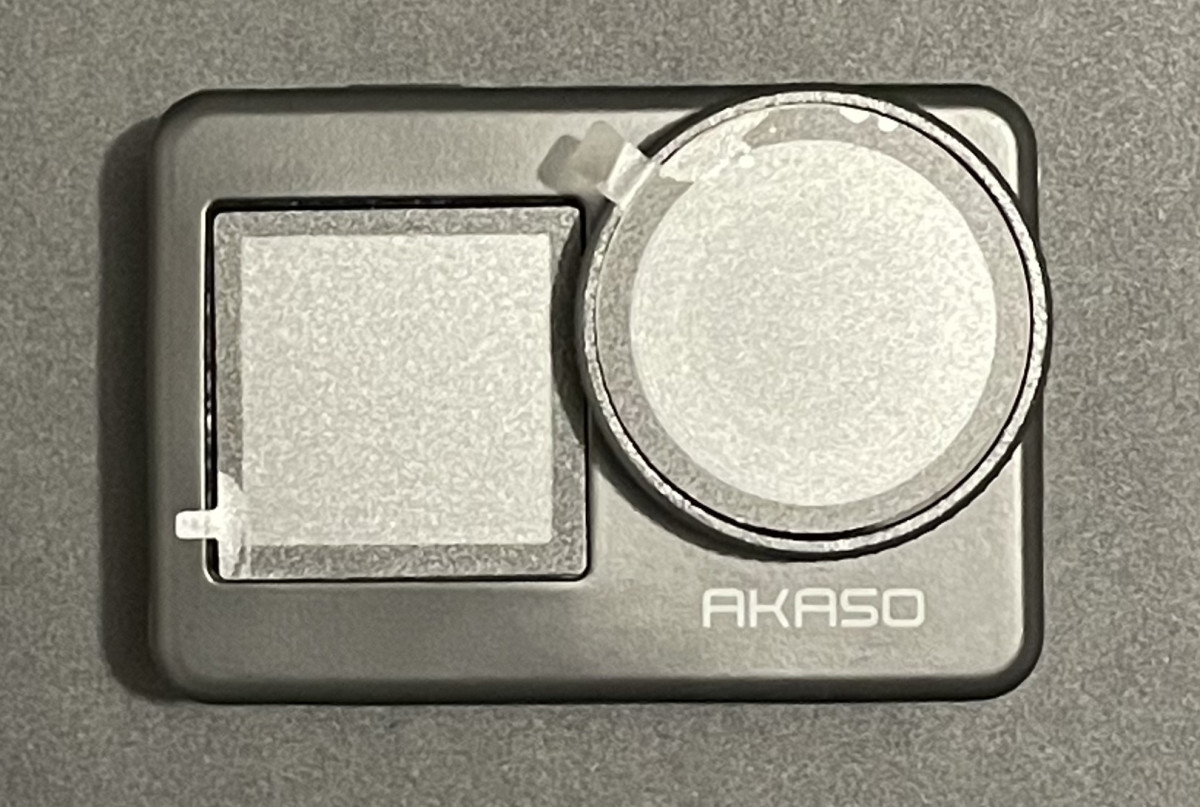
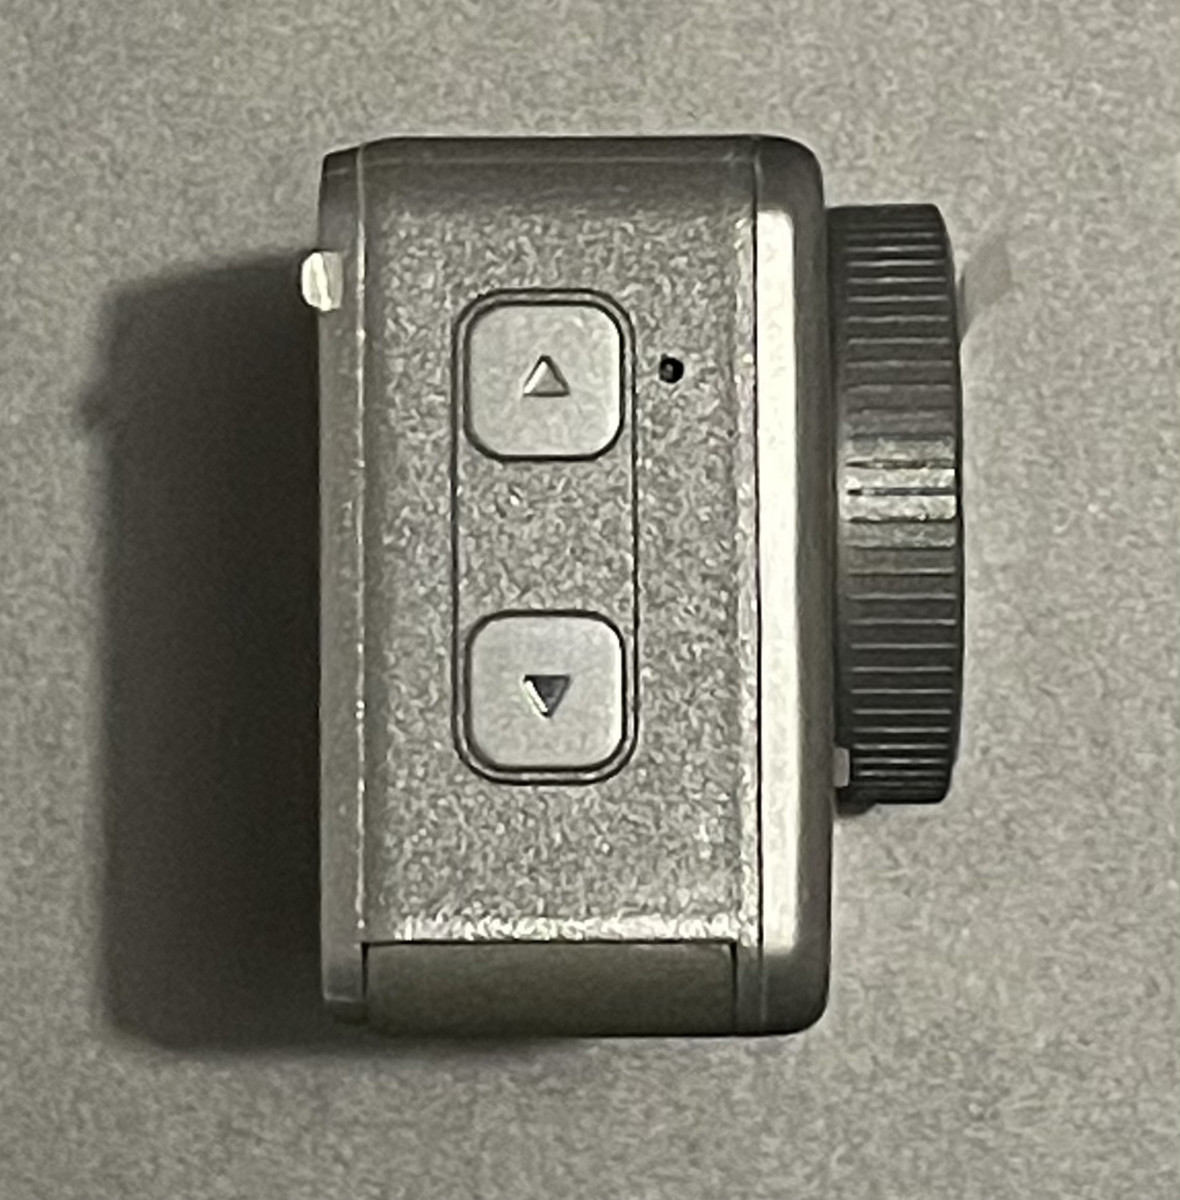
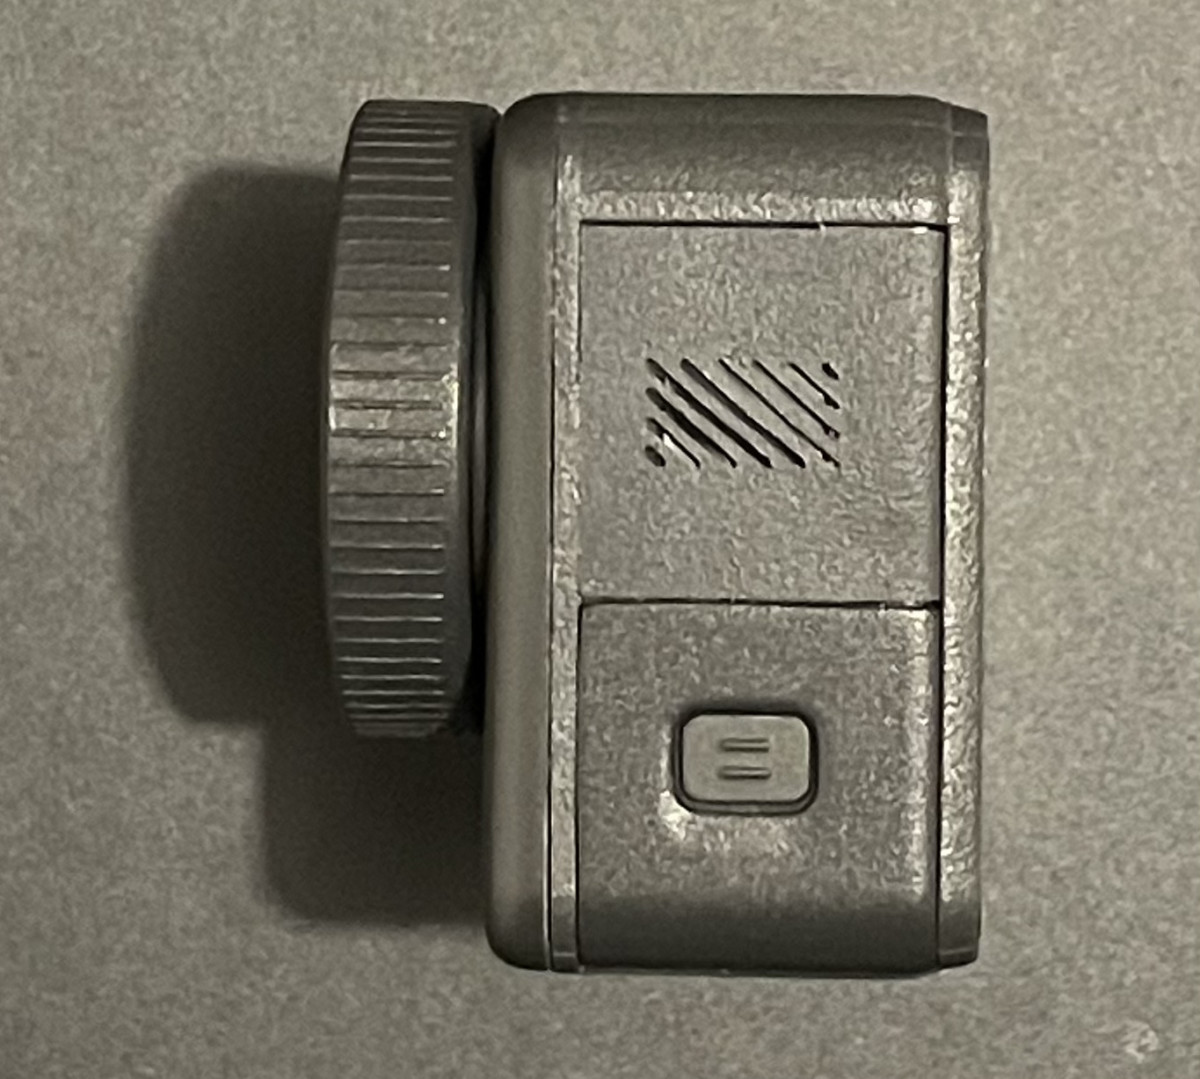
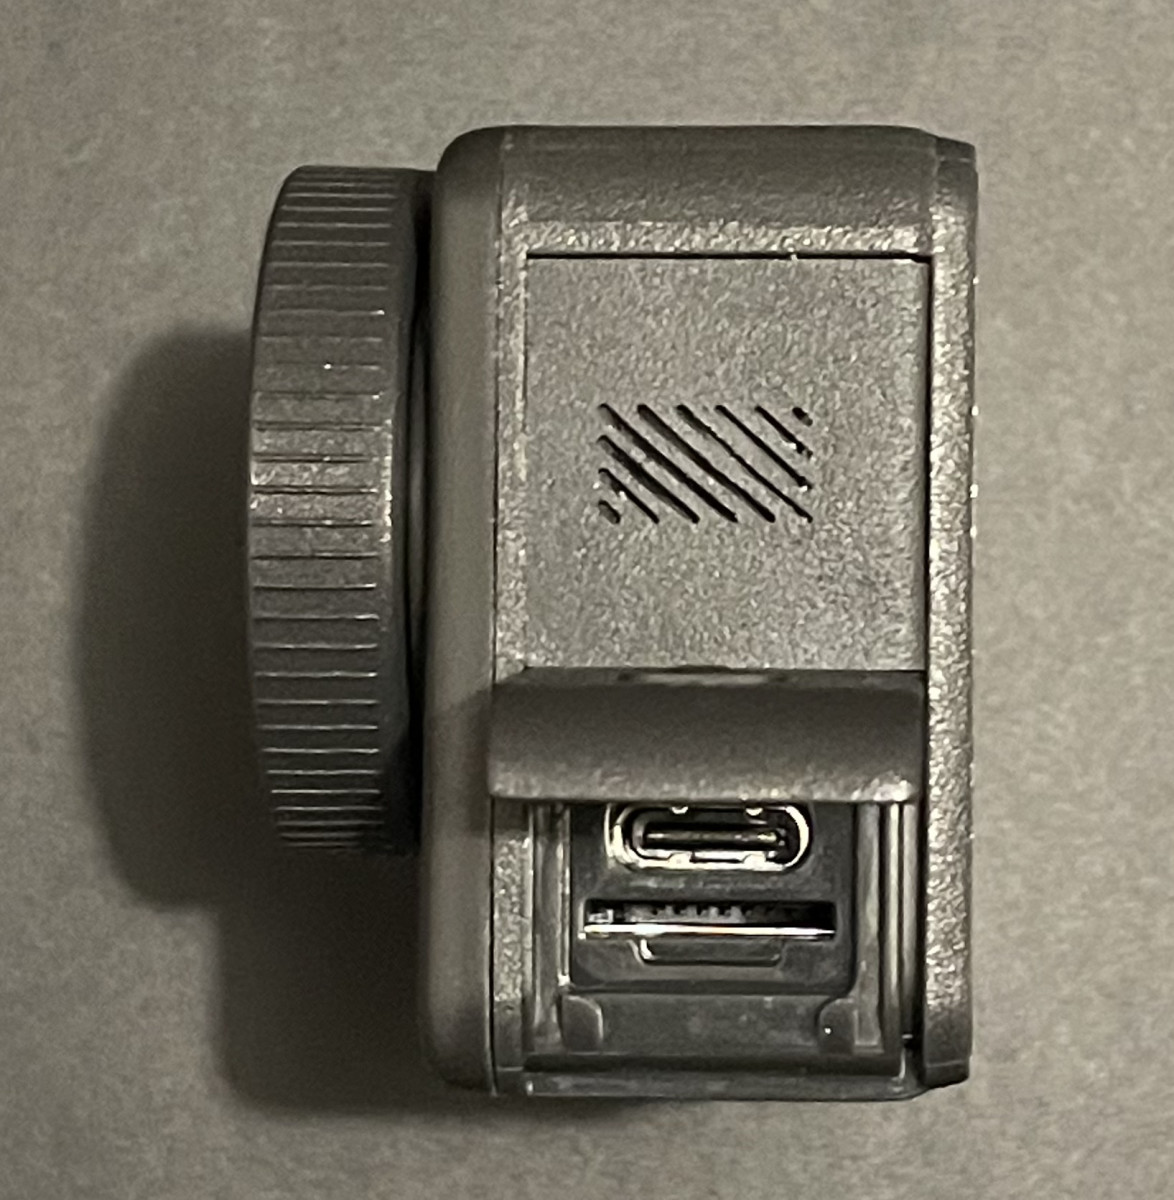
The Brave 7 is a dual-display action camera. The front display is slightly smaller than the rear, but it gets the job done. For my usage, I still favor the main rear display. However, you can turn this action camera into a vlogging setup through the front display. AKASO has included an external microphone accessory that you can attach directly to the side of this action camera. The circular camera lens itself is mostly to accommodate wide-angle shots. The actual camera lens itself doesn’t protrude outwards much. So, I speculate that “breathing room” must be given for any shots. This is a side view to show just how much the circular lens module protrudes outwards. It doesn’t really bother me that much, and it gives this action camera its unique look. I will say that the witness lines are still quite visible, and it does take a bit of effort to get used to them. I do need to be clear that this isn’t a quality defect. After all, the Brave 7, as previously mentioned, has a higher IPX8 rating. The up and down arrows on the side are used for navigation. They also have some more advanced settings. The up arrow will turn on WiFi so that you can transfer any videos files directly to your phone through the AKASO app. I don’t really recommend using this feature because 4K files can get quite large. You’ll be waiting quite a while for the file transfers to complete. On the other hand, the down arrow will toggle between the front and back displays. Over on the other side, you can find the ports enclosed inside a plastic cover. This is where you can insert the micro-SD card or connect a USB Type-C cable. This USB Type-C cable serves the following purposes:
Connect the external microphone accessory if you want to enhance the sound quality for any audio recordings. Charging the battery without removing it from the battery compartment. Transferring video files directly to your computer.
What I really like about this compartment is how AKASO waterproofed it. While it was difficult to capture on camera, there is actually an approximately two-millimeter thick rubber gasket to ensure that water can’t get into any of these ports. The battery compartment is over on the bottom. This design is quite straightforward. There is pretty much no way to mess up the orientation of the battery placement.
The Video Test
Finally! The moment you’ve probably been waiting for. I explored and recorded quite a few trails. After sorting through these video files, there is one route I think it’s quite useful to share. In terms of the video settings, I recorded these footages in 4K at 30 FPS.Luckily, the Samsung Pro Endurance micro-SD card was able to handle this perfectly. On a final note, I minimized and avoided editing the footage as much as possible. Hopefully, this will provide you with the most accurate representation of what this action camera is capable of. On a single-battery, I was able to record 1 hour and 28 minutes of footage. In other words, you can record for close to three hours utilizing both batteries. If you wish to extend your recording time, you can always purchase additional batteries. In terms of the video quality, I find that the colors aren’t saturated. The blue sky and green grass don’t appear to be artificially vibrant. However, the Brave 7 did struggle a bit preserving the details during some lower light conditions. For example, it was a bit difficult to make out the strands of grass when a shadow casts over them because of the trees. This isn’t to say that the Brave 7 struggles to capture details in general. In fact, it’s quite the opposite. When I recorded a segment on city roads, you can definitely read out the road signs and even the license plates of the parked cars. What really surprised me was how sharp the text was. When I tested previous action cameras, I recorded footages in 1080p and the loss of details was quite significant. This isn’t the case here because of the 4K resolution. In terms of image stabilization, this hasn’t changed. AKASO still uses EIS 2.0 (Electronic Image Stabilization). For minor bumps and sways, the Brave 7 does a good job muffling these effects. The harsher shakes were entirely handled by the EIS 2.0. I intentionally did not stabilize the footage during my editing process. If you feel that the footage is a bit shakier than your liking, I would add the expectation that stabilizing the footage during the editing process is required.
Verdict?
It’s AKASO’s best one yet with the IPX8 rating. You’re also definitely getting your money’s worth with the sheer amount of accessories included. I highly doubt you’ll fail to make a setup that works for you. What I really like is how polished some of these accessories are. The remote, for example, is a lot cleaner than their previous wrist strap. Aside from the use of the micro-USB port, it’s nearly perfect. The braided microphone attachment is another great addition if you’re seeking an entry-level vlogging setup. My verdict is that it’s very difficult to go wrong with the AKASO Brave 7 action camera, especially considering the accessories that you’re also getting for a fraction of the price sold by competitors.